How Do We Build Our Ceramic Darbuka
OUR DARBUKA VISION
When we decided to build a clay darbuka we were determined that it should have the best resonance sound and also look impressive.
Arab Instruments' owner "Assaf" has the following vision:
"When I was a child my mother had a fruit plate made by an Armenian artist and decorated with blue flowers. .
Today I am 46 years old and the same old plate is at my parents’ home with it’s unique blue flowers, barely scratched and ever so beautiful.
And all of a sudden I thought that it would be wonderful to create a ceramic darbuka made just the same way: using the same Armenian drawing technique as in my parents’ plate and thus also perpetuating this artwork on the darbuka for more than 40 years."

FINDING THE RIGHT MEN
Starting this project was not easy at all. We had big challenges along the way.
One of them was to find a ceramics artist with many years of experience who could help us make this dream come true.
After searching a lot, we finally have found one with a great reputation of creating ceramic designs of more than 40 years.
We chose white clay for our special darbuka (since brown clay – rikota - couldn’t create the sound we needed) because it produces the best acoustic sound (after being burned twice in the clay oven).
DARBUKA BUILDING PROCESS
The process itself was as follows:
1) The ceramic artist created the darbuka (according to our specific measurements) in three stages. First, he made the head and then the body, let them dry and then combined them into a one piece darbuka.
2) Once the structure dried, he placed it in the ceramic oven to be burned at about 1200 degrees for 24 hours.
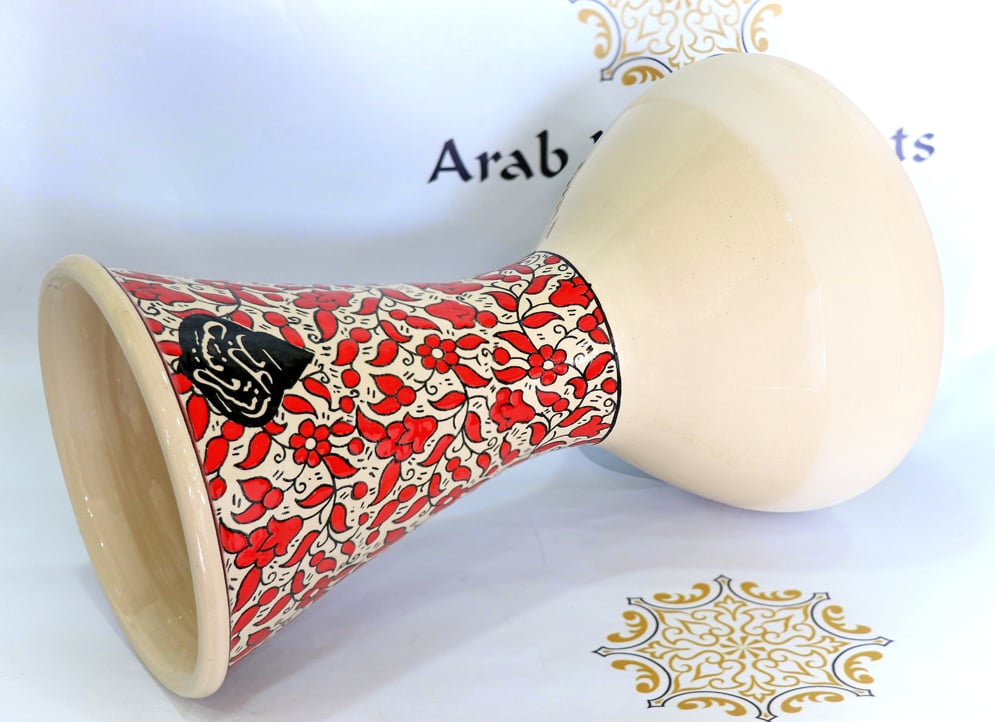
3) After the first burn, we took the darbuka to the Armenian artist. This artist painted his artwork all over the darbuka with special glazed colors (colors that must hold in 1200 degrees heat).
4) The darbuka was then sent to the ceramic oven for the second burn (around 1200 degrees for 24 hours ) .
When this stage was finished, we got an amazing clay darbuka decorated with Armenian art!

SKIN INSTALLATION
The following stage was complicated and required other specific and unique skills. We needed to find someone with experience to install skin on the darbuka’s head (fish skin or goat skin).
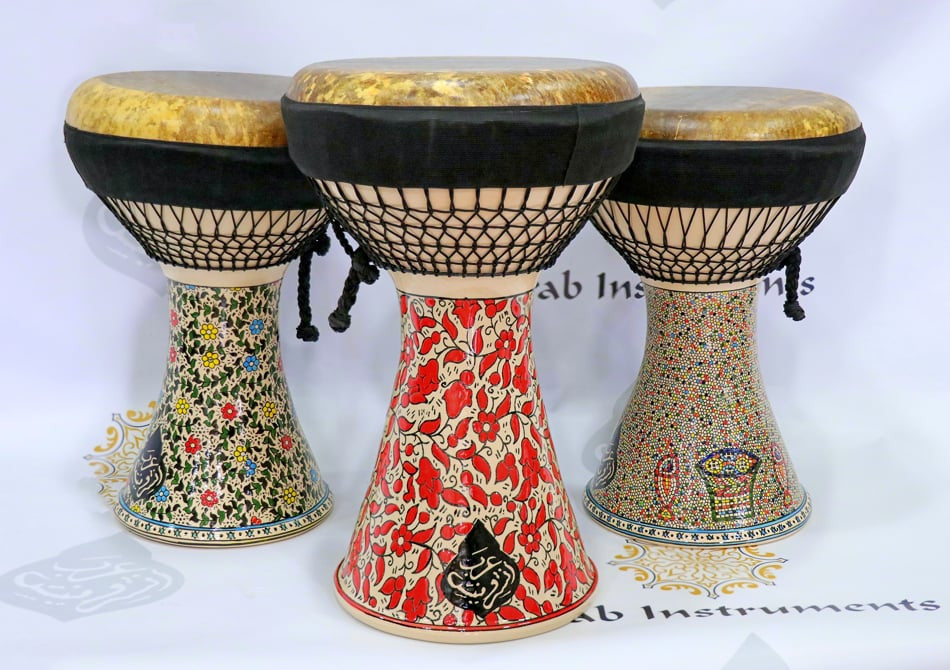
We also searched for expertise to create an unique rope decoration for the skin installation and we were so happy when we found the perfect person for this task.Once the skin and the ropes were installed, we got the most original and beautiful darbuka ever made!


FINAL RESULT WITH A FISH SKIN


FINAL RESULT WITH A GOAT SKIN

Read more
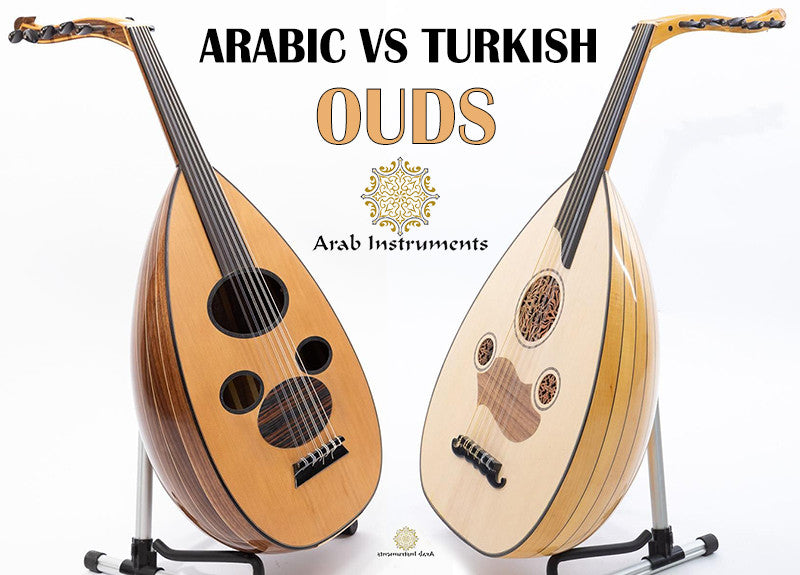
The Differences Between Arabic oud and Turkish Oud
Stringed instruments began to happen in people's lives right after the percussion instruments. The Oud is one of the oldest stringed instruments. It was developed and is still used in all countries...
Read more
How To Choose Your First Ney - The Complete Tutorial
Which Ney Should I Choose as a Beginner Player Choosing the right ney as a beginner can be challenging.There are many types of neys, including different styles like Arabic ney and Turkish ney.S...
Read more