Stringing the Oud
Stringing the Oud
Installing the Oud Strings
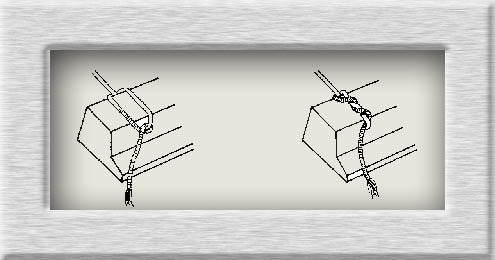
Please pay attention to the pictures below. We can see that every string on the oud is connected to it's bridge. These pictures show you exactly how to attach the oud strings to the bridge step by step. By passing the oud strings underneath themselves you can be sure that these oud strings do not slip when the oud player plucking on them.

Pegs and Strings
The other side of the string is connected to the corresponding peg at the pegbox of the oud. You can see the order in which strings are attached to the bridge and the pegbox at the following picture.In this picture you can see 11 strings attached to the oud but in some ouds you can find 12 strings in the same corresponding order.


